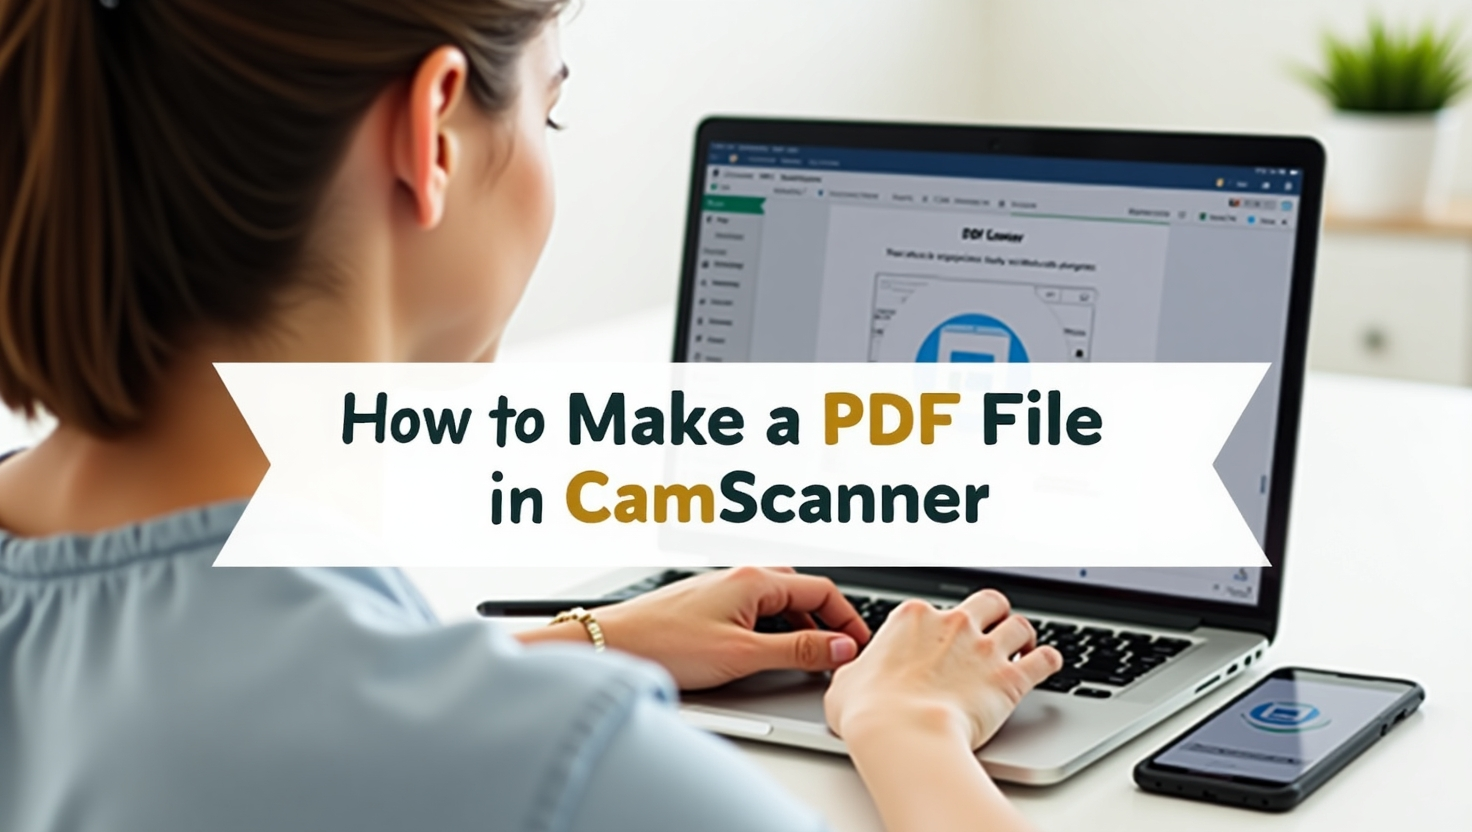
How to Make a PDF File in CamScanner
CamScanner is one of the most popular mobile scanning applications, widely used for converting physical documents into digital format. Whether you’re a student, professional, or just someone looking to digitize important paperwork, CamScanner offers a simple and efficient way to create PDFs. This guide provides a step-by-step approach to making a PDF file using CamScanner, along with helpful tips and best practices.
Why Use CamScanner for PDF Creation?
There are many reasons why CamScanner stands out among other document scanning apps:
- User-Friendly Interface: CamScanner is designed for ease of use, even for beginners.
- High-Quality Scans: The app enhances scanned documents for better readability.
- Multiple Export Options: Users can save, share, or print their PDFs effortlessly.
- Cloud Storage Integration: The app supports Google Drive, Dropbox, and OneDrive.
- OCR Technology: Optical Character Recognition (OCR) enables text extraction from images.
Steps to Make a PDF File in CamScanner
Creating a PDF using CamScanner is a straightforward process. Follow these steps:
Step 1: Download and Install CamScanner
If you haven’t installed CamScanner yet, follow these steps:
- Open the Google Play Store (Android) or App Store (iOS).
- Search for CamScanner.
- Tap Install and wait for the app to download.
- Once installed, open the app and sign in or create an account.
Step 2: Capture the Document
To scan a document:
- Open CamScanner.
- Tap the Camera icon to start scanning.
- Position your phone camera over the document and ensure it is well-aligned.
- Tap the Shutter button to capture the image.
- Adjust the edges by dragging the cropping handles if necessary.
- Tap Next to proceed.
Step 3: Enhance the Scanned Image
Once you’ve captured the document, you can enhance its quality:
- Choose from different enhancement modes like Auto, Magic Color, Gray Mode, or Original.
- Adjust brightness, contrast, and sharpness for better readability.
- If needed, rotate or reorder scanned pages before proceeding.
Step 4: Convert the Scan into a PDF File
- After scanning and enhancing, tap Save as PDF.
- CamScanner will automatically convert the scanned image into a PDF format.
- You can rename the file for easy identification.
- Tap Confirm to save the PDF.
Step 5: Export or Share the PDF
Once the PDF is created, you can share or save it:
- Tap the Share icon.
- Choose your preferred sharing method: Email, WhatsApp, Google Drive, or direct link.
- Alternatively, save the PDF to your device storage.
Advanced Features for PDF Customization
CamScanner offers additional features to enhance your PDFs:
1. Adding Annotations
- Use the pen tool to highlight or mark important sections.
- Add text notes for additional details.
2. Merging Multiple PDFs
- Open CamScanner and go to your scanned documents.
- Select multiple PDFs and tap Merge to combine them into one file.
3. Password Protection
- To add security, select your PDF file.
- Tap Set Password and enter a strong password to restrict access.
4. Optical Character Recognition (OCR)
- Use OCR mode to extract text from images for easy editing.
Common Issues and Troubleshooting
1. Blurry or Low-Quality Scans
- Ensure proper lighting and avoid shadows.
- Use the Magic Color filter for better clarity.
2. PDF File Not Saving
- Check if the app has storage permissions enabled.
- Ensure your device has sufficient storage space.
3. Unable to Share PDF
- Check your internet connection.
- Restart the app and try again.
Conclusion
Creating a PDF file using CamScanner is a simple yet effective way to digitize documents. With its high-quality scanning, easy-to-use features, and multiple export options, CamScanner remains a go-to solution for professionals and students alike. By following this guide, you can efficiently scan, enhance, and convert your documents into a well-formatted PDF in just a few steps.